Editing and completing an invoice or credit note

After you have created an invoice or credit note, you can edit it.
  1. In the Module menu, click Financial.
  2. In the Menu bar, click Invoices.
  3. In the Submenu, click Customer Invoice.
    Note: Clicking Invoices automatically directs you to the Customer Invoice submenu.
  4. Change the time period using the calendar buttons or search for an invoice.
    The invoices appear in a grid.
  5. Click an invoice to see the details and the current status of the invoice:
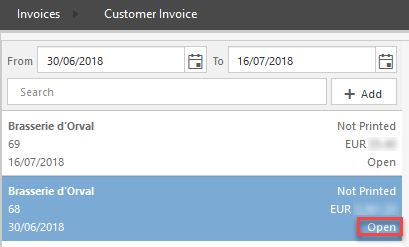
    Status Meaning
    Open The invoice hasn't been completed yet. You can still edit it by adding or removing revenue lines.
    Booked The invoice has been completed. You can no longer edit it.
  6. Optionally, fill in a Due Date, Payment Reference or Customer Reference.
    Note: Due Date and Payment Reference are filled in automatically if configured, but can be overwritten if necessary.
  7. If necessary, add and/or remove revenue lines.
  8. Click Save.
    Note: You can still edit the invoice.
  9. Click Book to complete the invoice.
    The invoice has been closed. The status has been changed to Booked.
  10. Click Print.
    A PDF file with a summary and an Excel file with the details are generated.