Adding and removing revenue lines in an invoice
-
Search for revenue lines:
-
Click
 to open the filters.

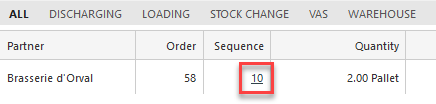
The revenue lines appear in a grid. Note: Click the tabs to only view the Discharging, Loading, Stock Change, VAS or Warehouse lines.
 -
Click
-
Click Add lines.
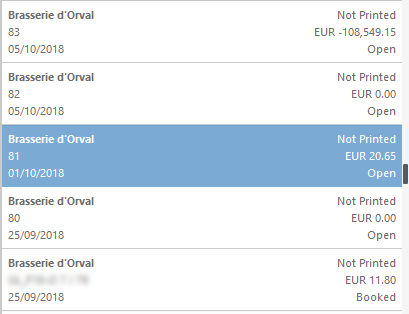
The revenue lines have been added to the earlier selected invoice.Note: Make sure you have selected the correct invoice. The invoice highlighted in blue is selected.
-
If necessary, click
 next to an item in the Financial Lines section to remove a revenue line from an invoice.
The revenue line becomes available again to use in a different invoice.
next to an item in the Financial Lines section to remove a revenue line from an invoice.
The revenue line becomes available again to use in a different invoice. -
Click Save.
Tip: From the Customer Invoice submenu, you can also go to an order item to edit, create and delete the revenue lines attached to it. Click the Sequence number in the search results grid.